Getting Started
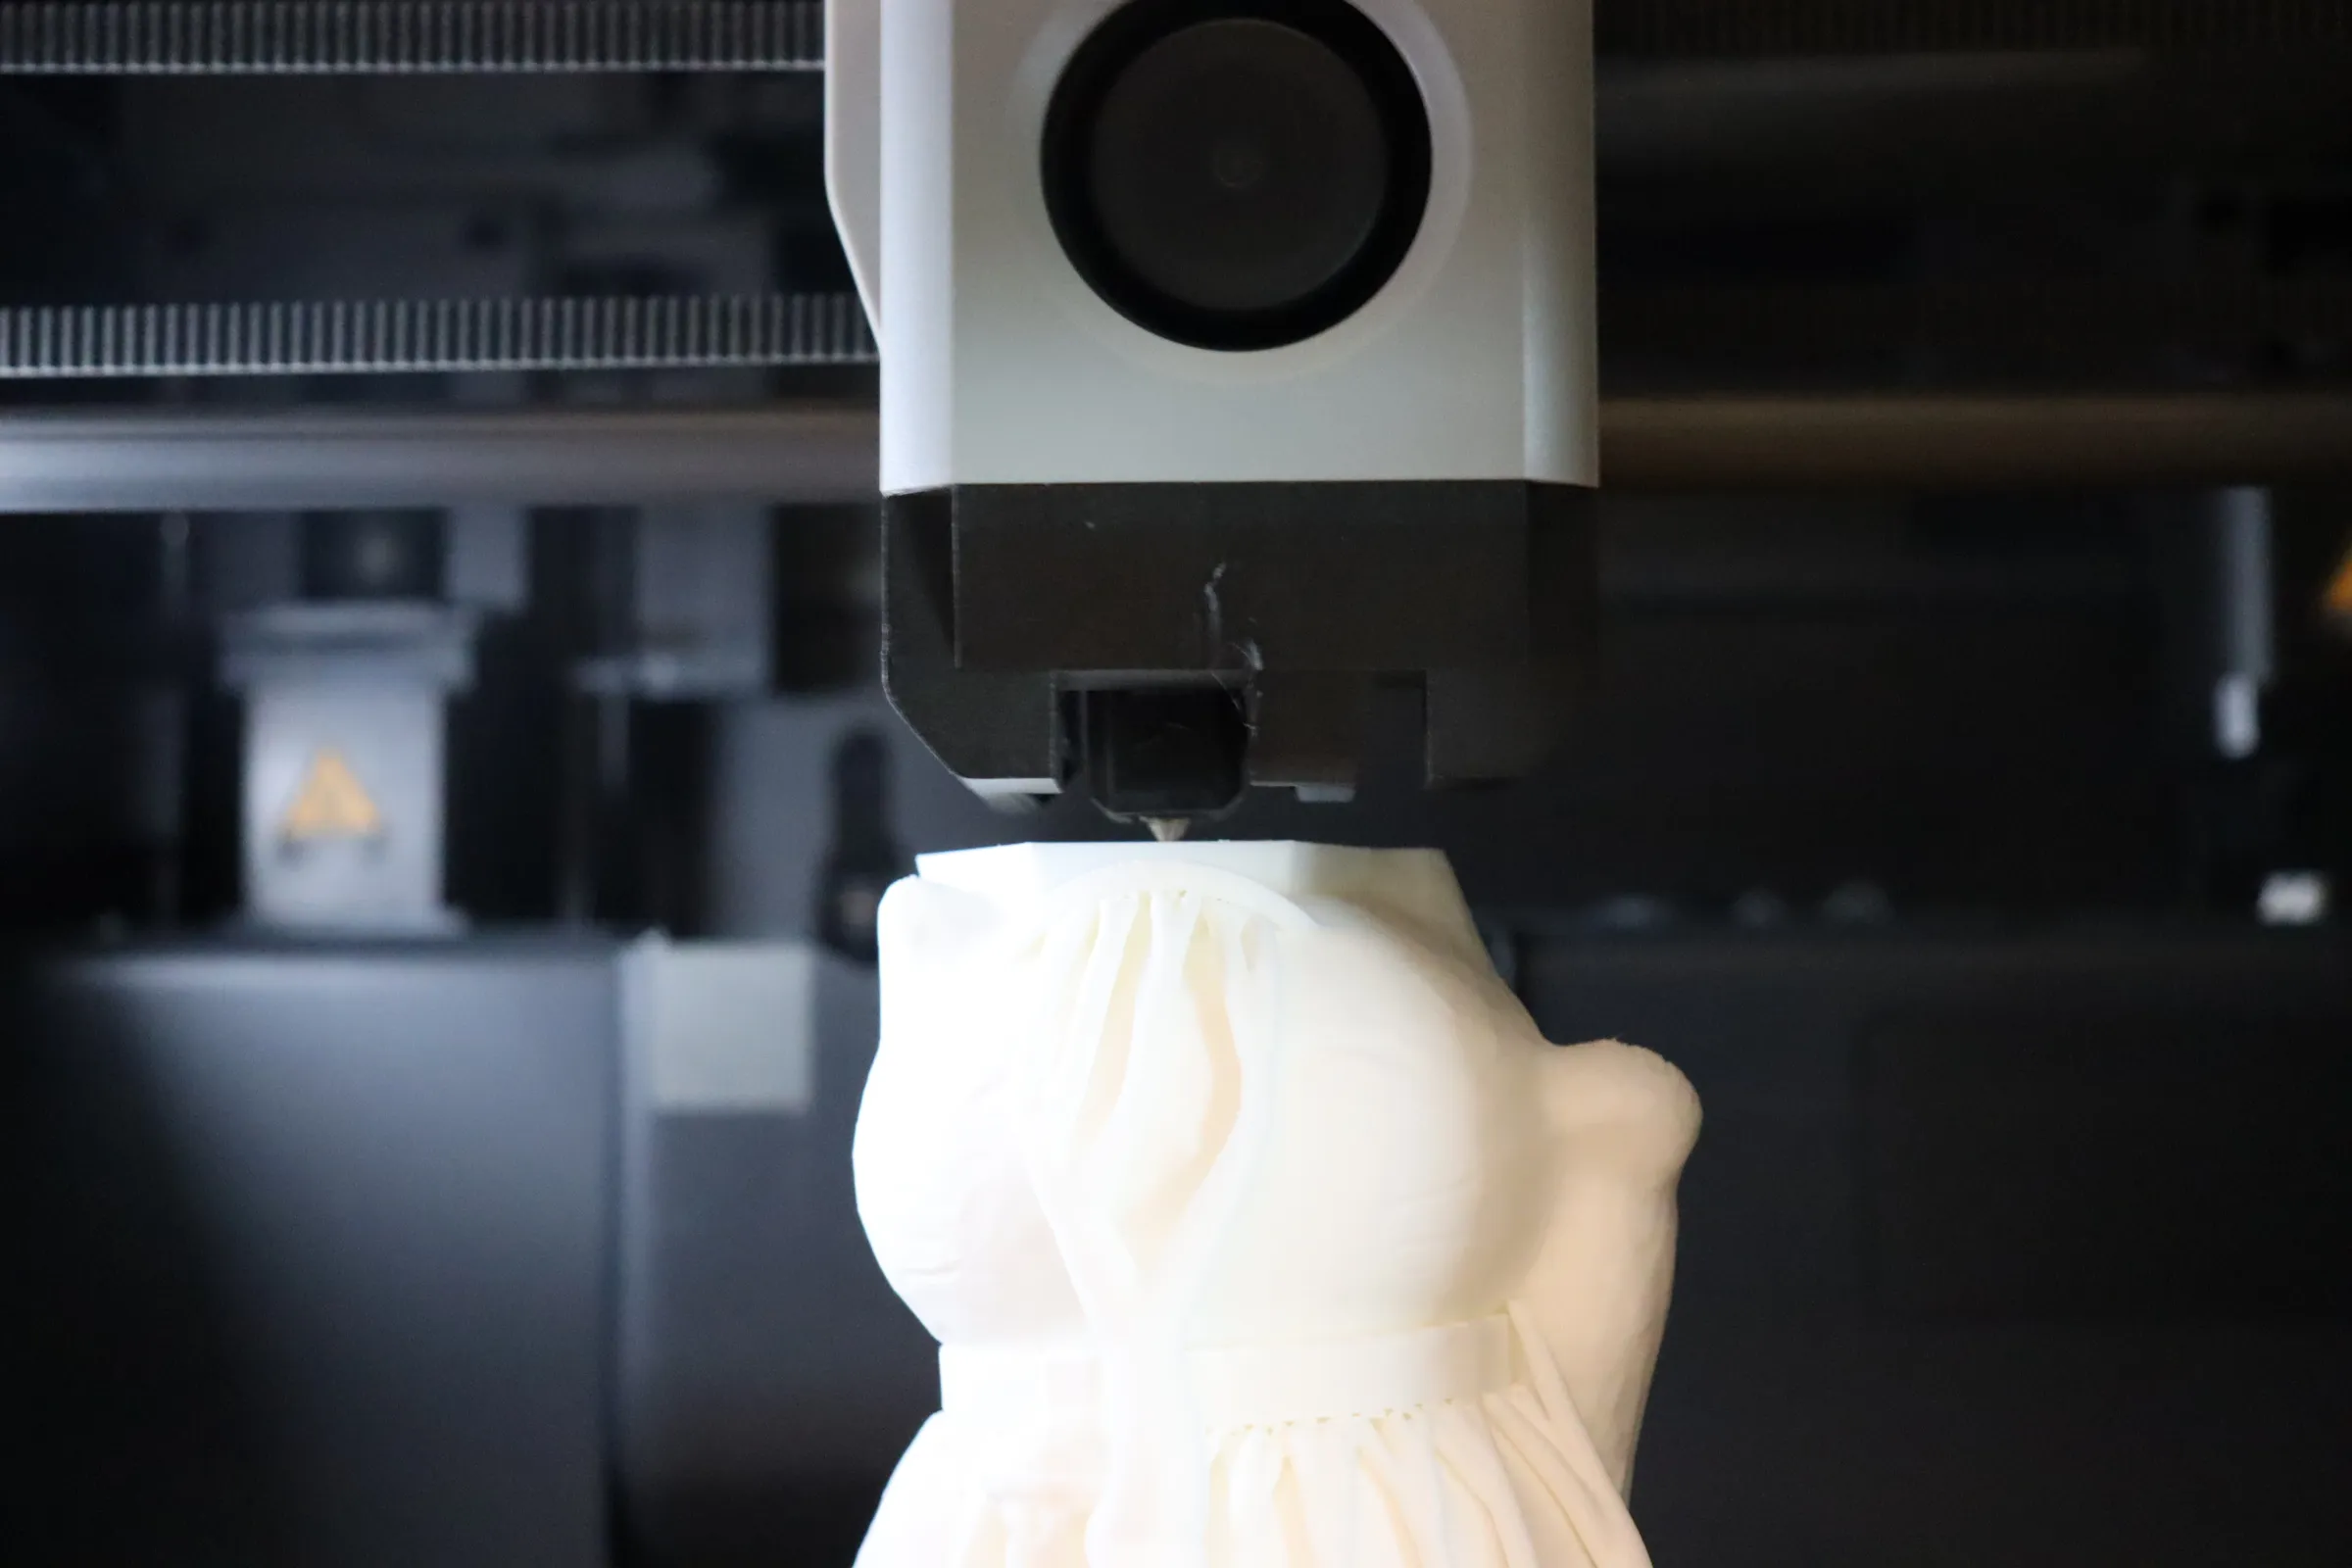
3D printing is the process of creating a three-dimensional object from a digital file. This is done by adding material layer by layer until the object is complete. 3D printing is also known as additive manufacturing, as it adds material to create an object. 3D printing is a great way to create prototypes, functional parts, and artistic pieces.
3D Printing Process
- Find a Model: Create or download a 3D model.
- Select a Printer: Choose the appropriate printer based on your needs.
- Preparing: Come into the space and we will help you prepare your model for printing.
- Printing: We will print your model for you.
- Post-Processing: After printing, we will help you with any necessary post-processing steps, such as cleaning or curing.
- Pick Up: Once your model is ready, you can pick it up from the space.
1. Find a Model
Before printing, you need a model to be printed. There are a wide variety of resources available for finding or designing models. If you are new to 3D printing, we recommend starting with a model that is already designed for 3D printing.
Resources for Finding Models:
- Printables: A large library of 3D models hosted by Prusa Research.
- Thingiverse: A popular site for sharing 3D models.
- Thangs: A 3D model search engine that allows you to find models across multiple sites.
Resources for Designing Models:
- TinkerCAD: A free online CAD tool that is great for beginners.
- Fusion 360: A more advanced CAD tool that is free for students and educators.
- Blender: A free and open-source 3D modeling software that is great for creating complex models.
- SolidWorks: A professional CAD software that is widely used in the industry.
- OnShape: A cloud-based CAD software that is great for collaboration.
When designing or downloading models, there are several considerations to keep in mind.
- Format: Ensure the model is in a compatible format for 3D printing.
.stl,.obj, and.stepare our supported formats. - Size: Make sure the model fits within the printer’s build volume.
- Tolerances: Consider the tolerances of the model. Some models may require specific tolerances to fit together correctly. Typical printers have a tolerance of 0.2mm.
- Orientation: Consider how the model will be oriented during printing. Some models may require supports or may not print well in certain orientations.
- Minimal Wall Thickness: Ensure the model has a minimum wall thickness of 1.2mm to ensure structural integrity.
2. Select a Printer
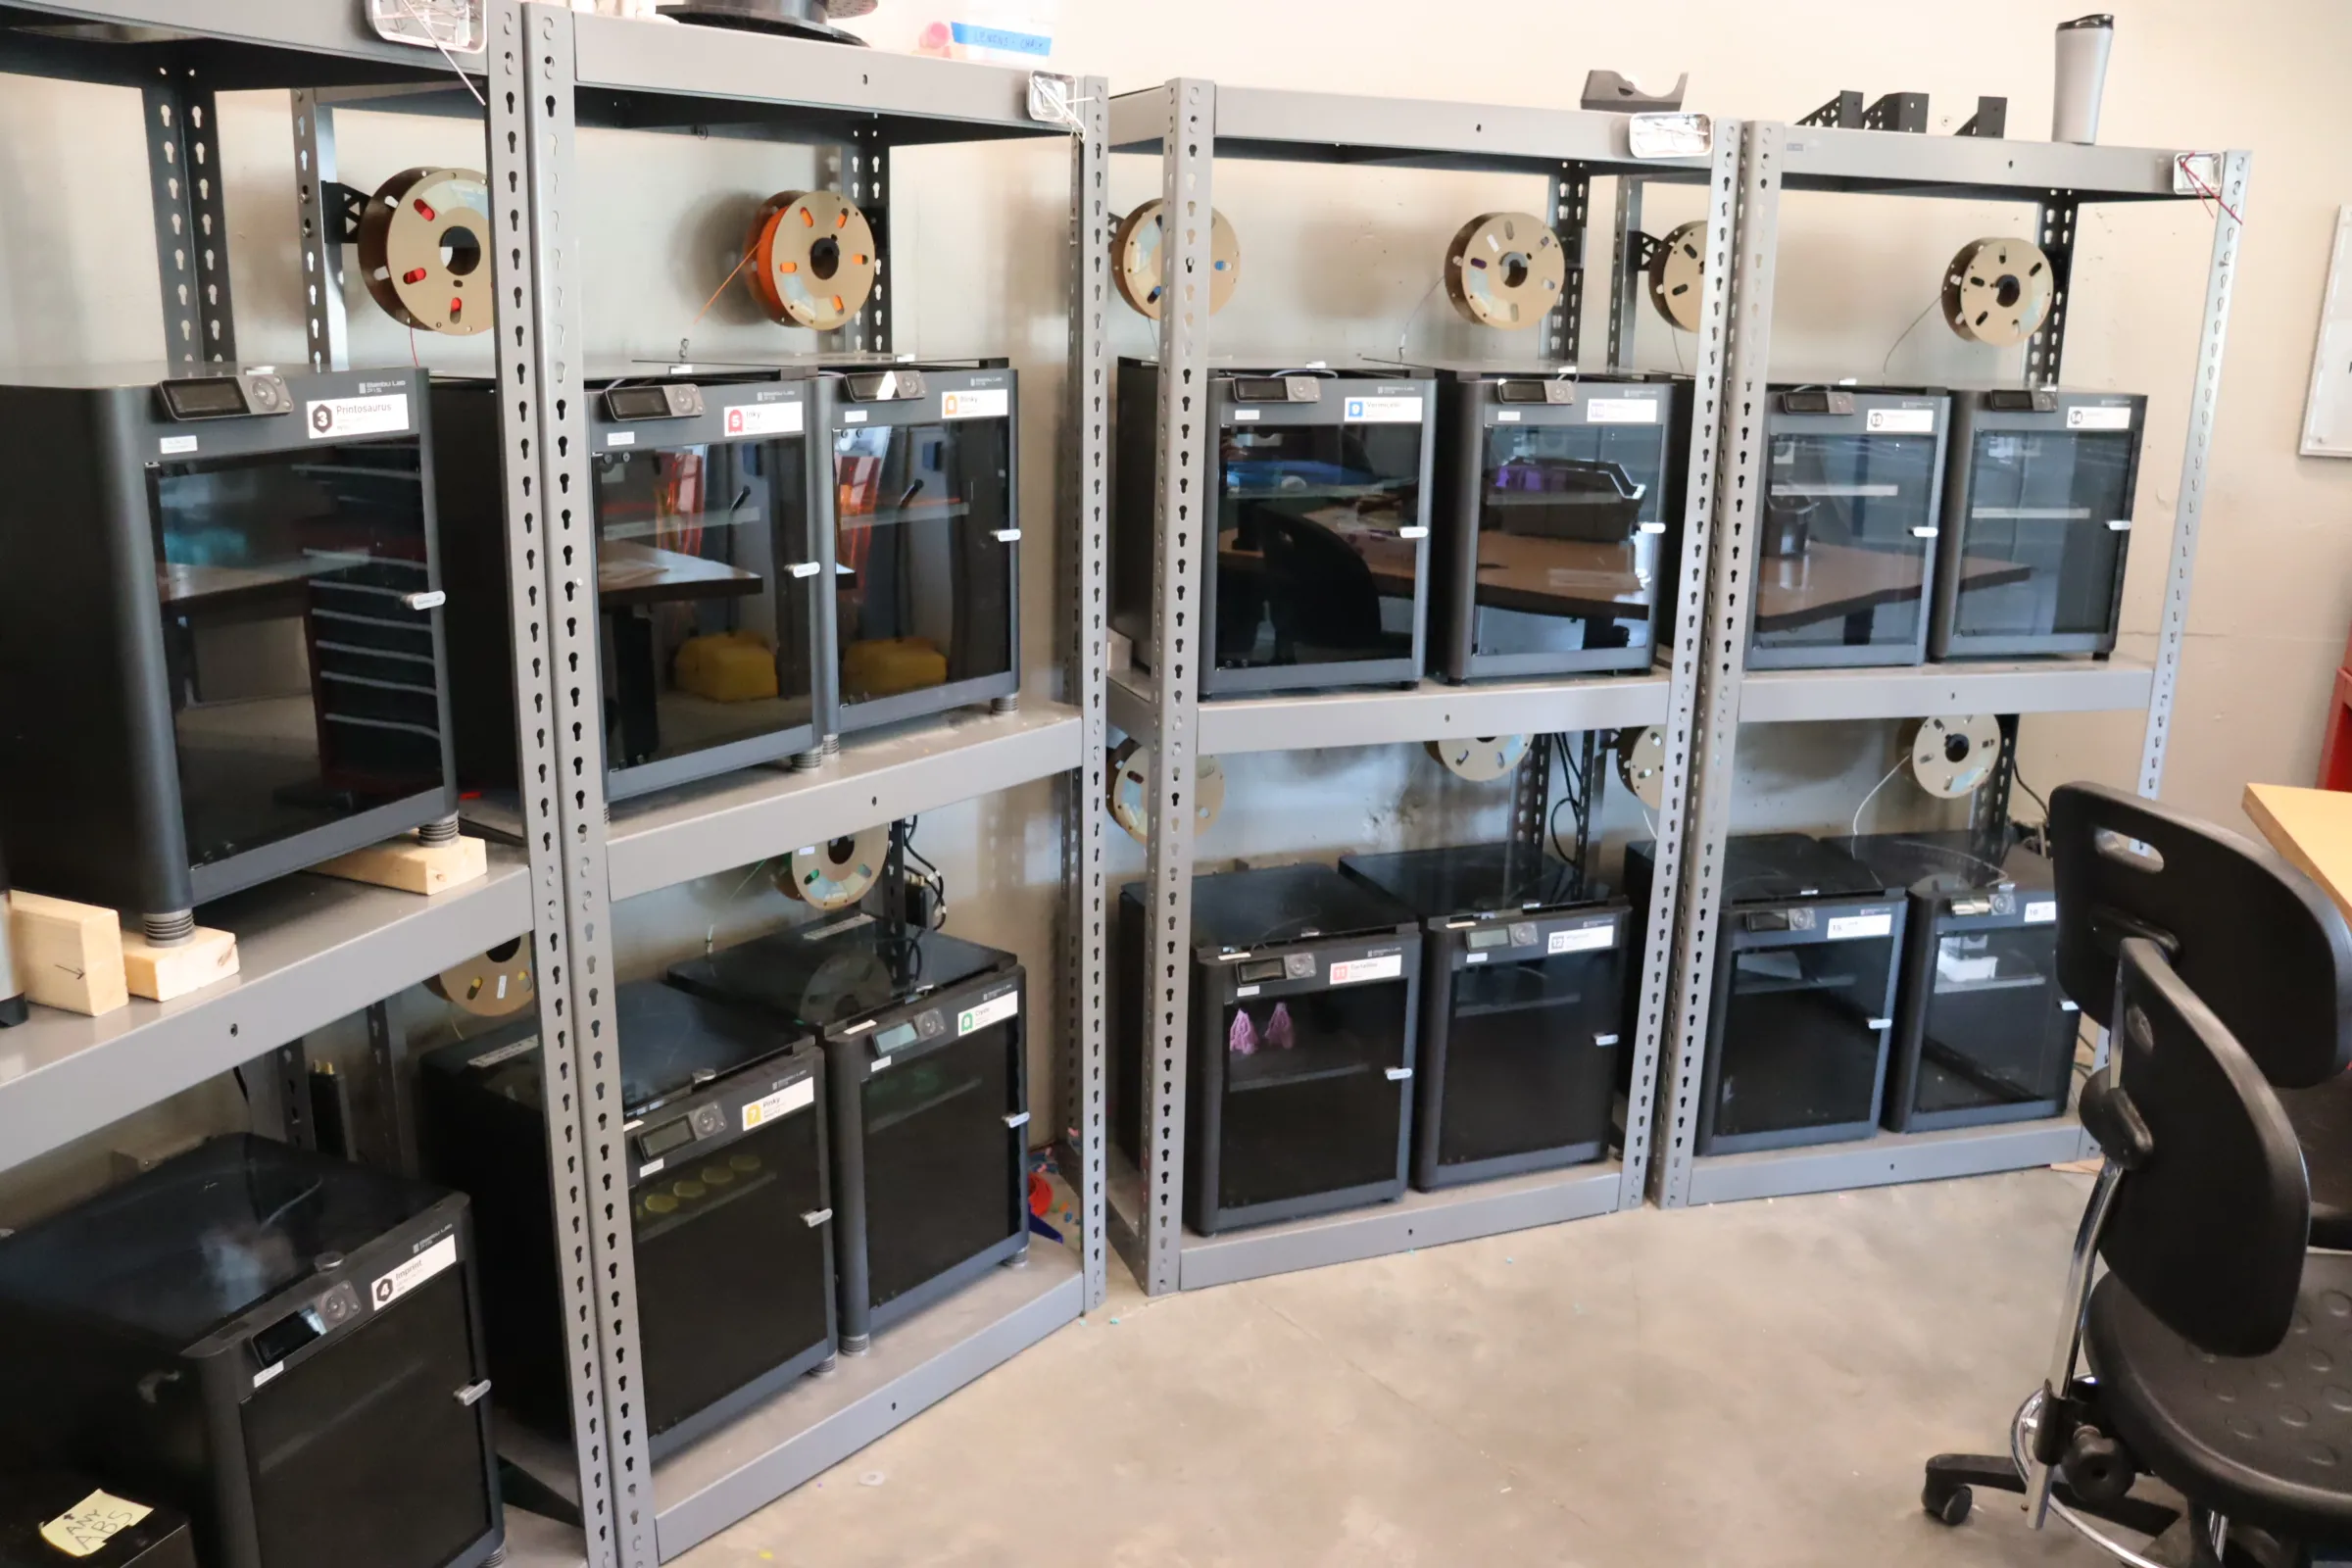
We have several printers available for use, each with its own strengths and weaknesses. It is important to choose the right printer for your needs. As always, if you are unsure of which printer to use, finding a PI in the Hive is a great place to start.
| Printer | Material Options | When to Use |
|---|---|---|
| Bambu Lab P1S | PLA, PETG, ABS, TPU | General use, prototyping, and functional parts |
| Bambu Lab P1S w/ AMS | PLA | Multi-color printing |
| Formlabs Form 3 | Standard Resins, Flexible Resin | High-detail prints, small parts, and models |
| Formlabs Form 3L | Draft Resin | Large parts and models, prototyping |
3. Preparing
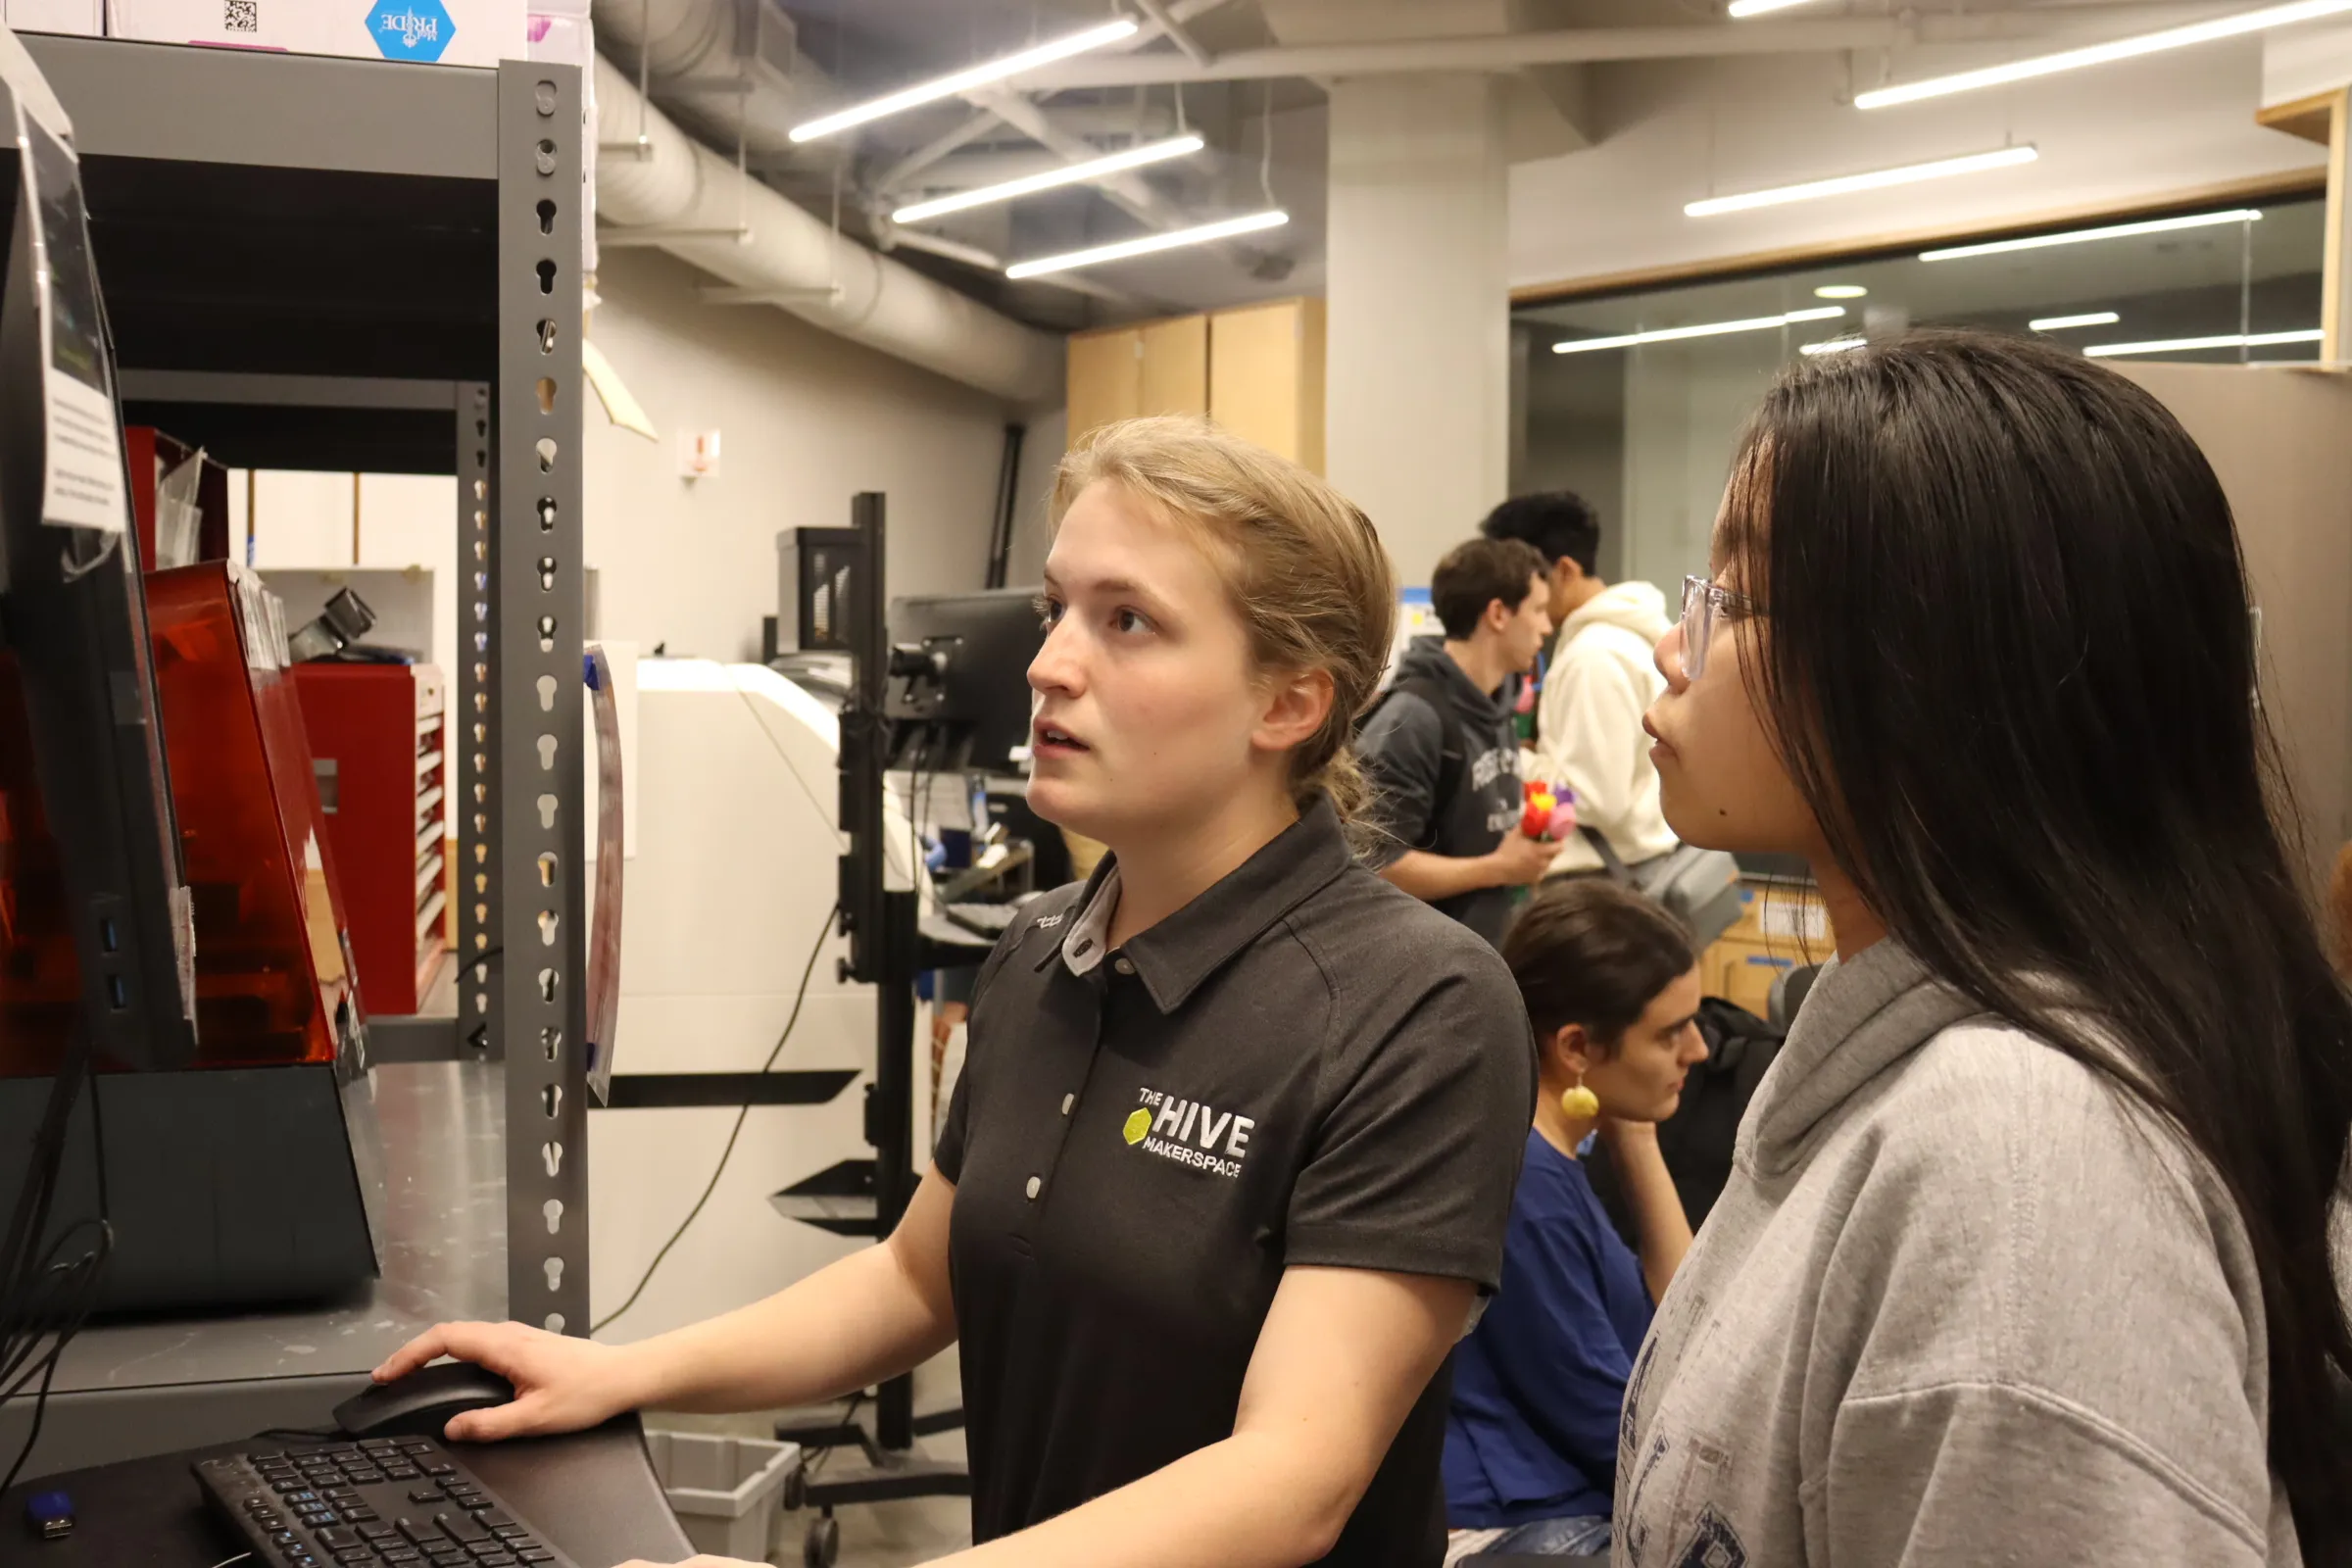
Once you have selected a model and printer, you will need to prepare the model for printing.
We only accept .stl, .obj, and .step files.
We slice all models in-house using Orca Slicer.
We will help you with the slicing process and ensure that the model is ready for printing.
After slicing is cimpleted, we will provide you with a preview of the print. This will include the estimated time, material usage, and any supports that will be used. Before printing, we will review the model with you to ensure that it is within our limits:
- Time: Must be less that 8 hours.
- Volume (Resin Only): Must be less than 100mL.
- Concurrent Prints: Must have no prints currently in the queue or activly printing.
Printing in the space is completely free for all Georgia Tech members (students, faculty, and staff).
4. Printing
Once the model is prepared, we will print it for you. We will monitor the print to ensure that it is printing correctly and will notify you via email with the status of the print. If there are any issues with the print, we will attempt to resolve them. If the print is unsuccessful, we encourage you to come into the space and we will help you troubleshoot the issue.
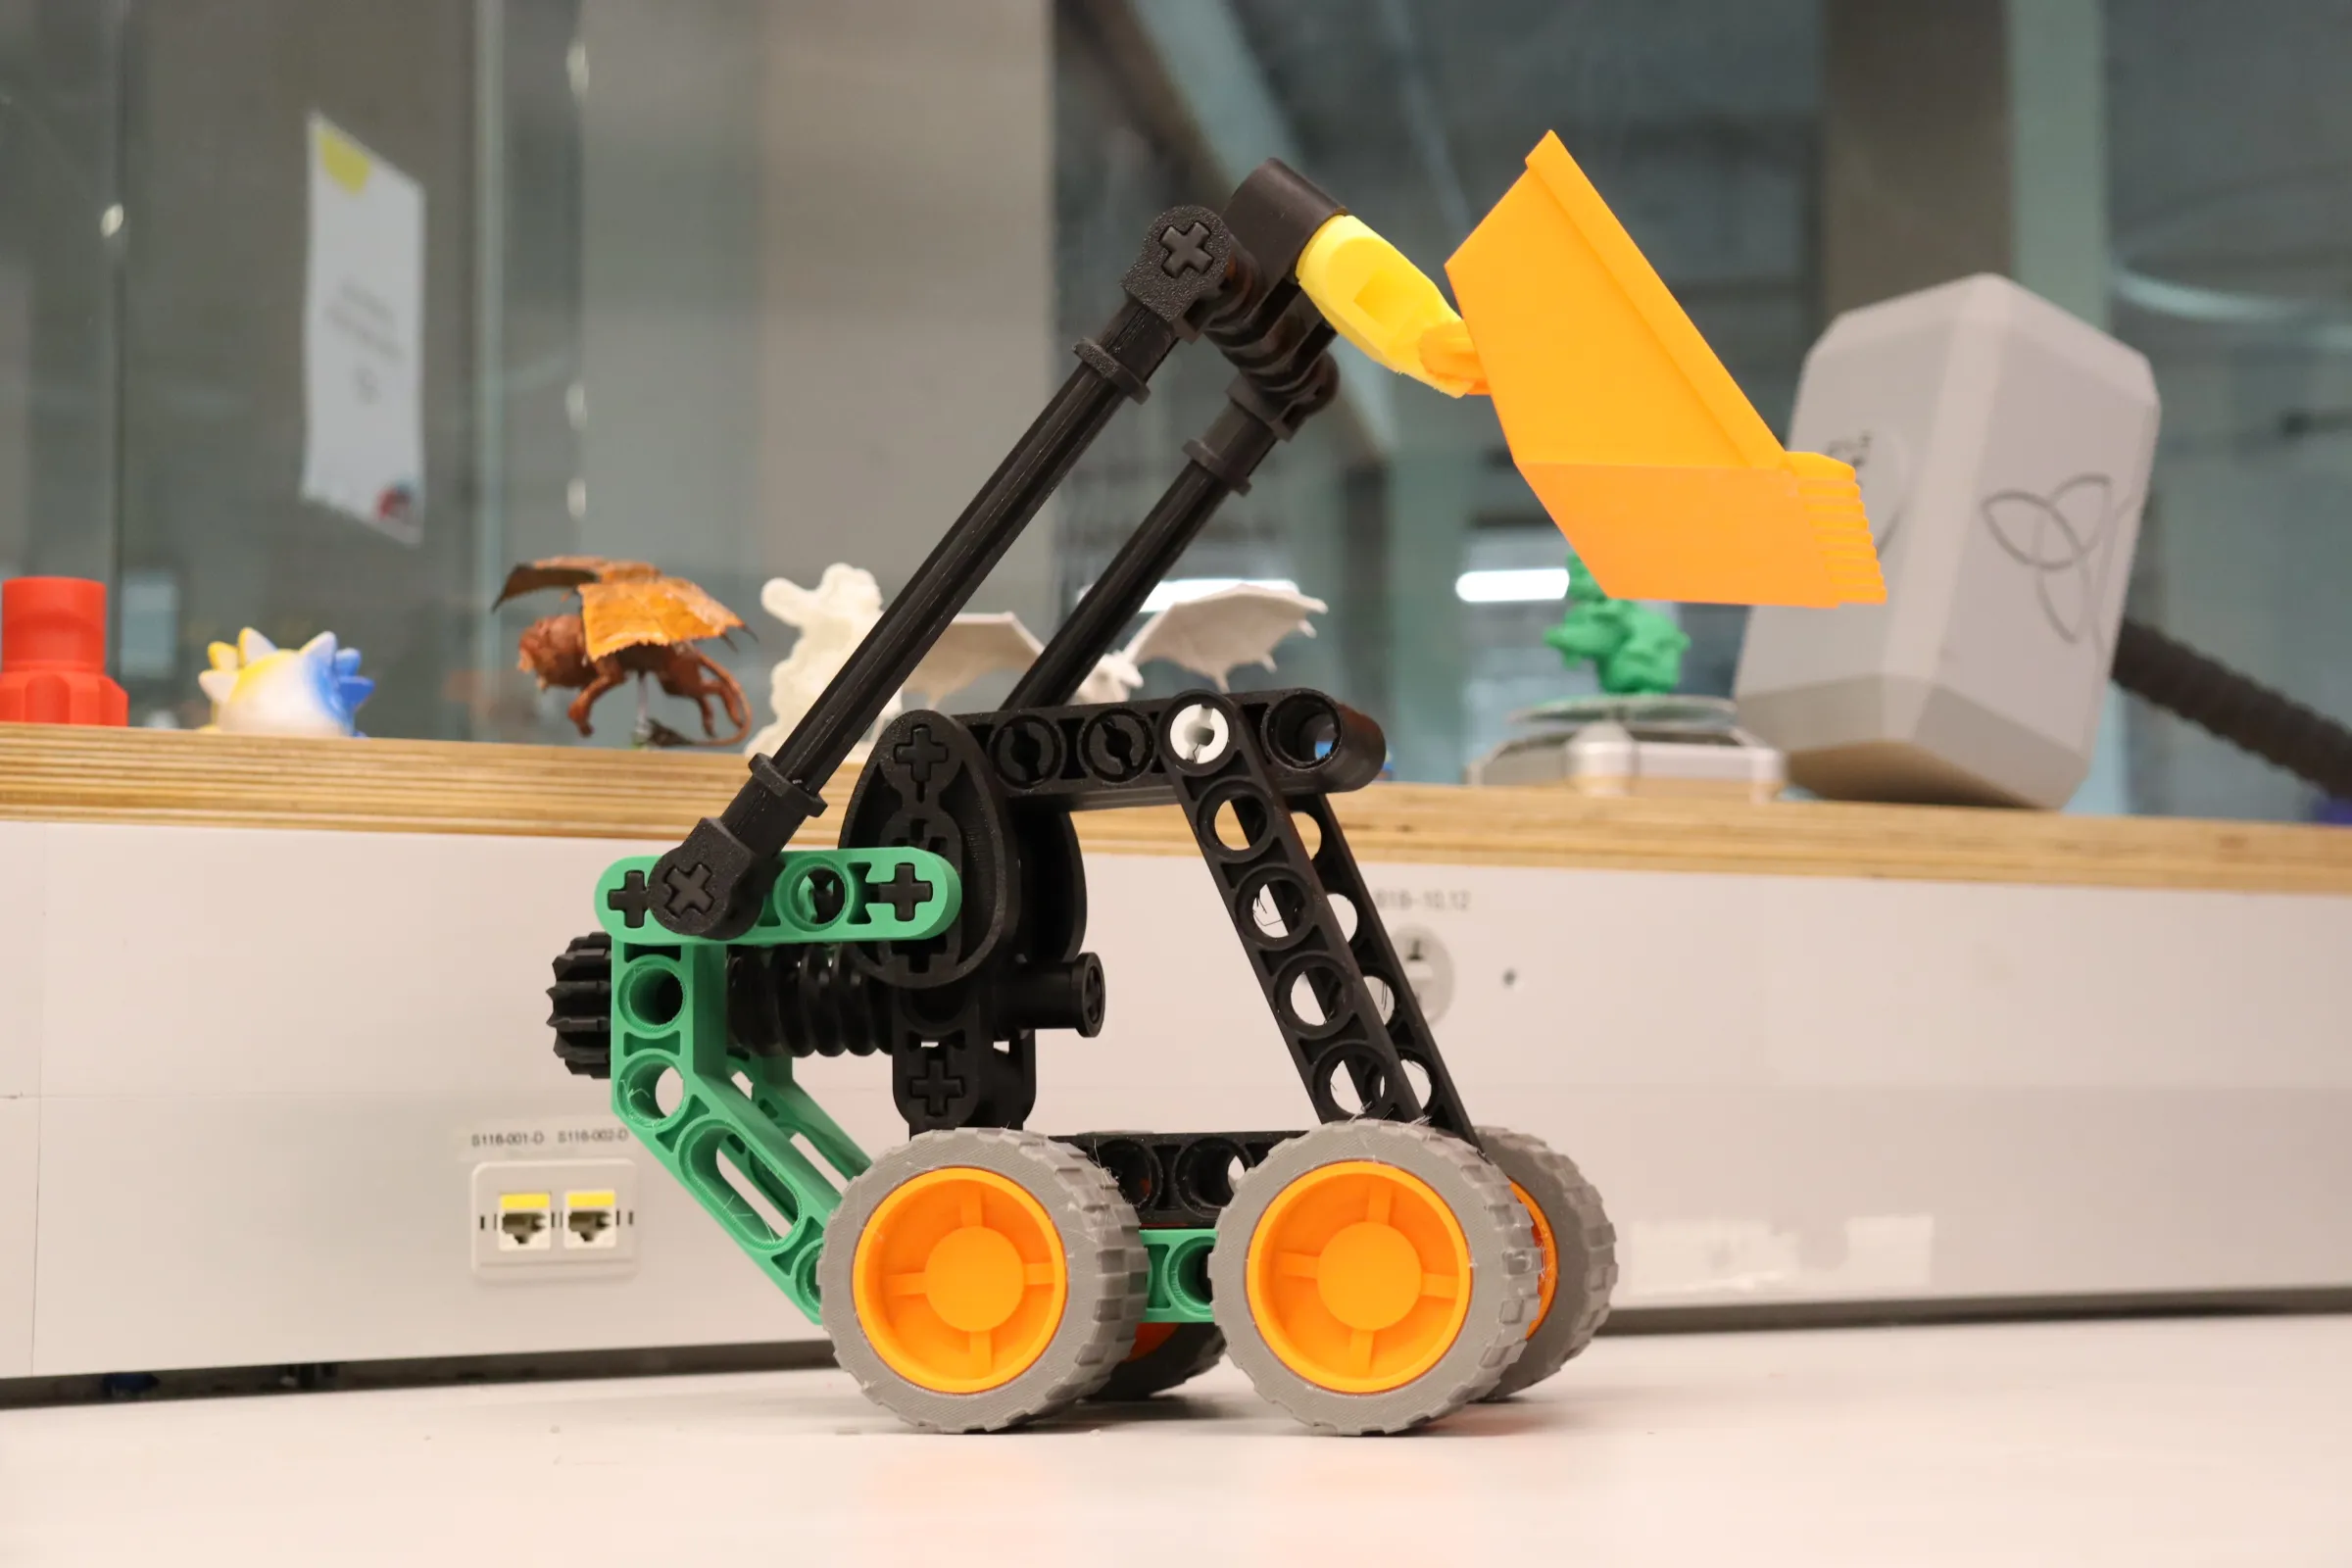
5. Post-Processing

Once the print is complete, some post-processing may be required. This may include removing supports, sanding, or curing the print. For resin prints, we will handle the curing process for you. We do not remove supports from prints for you, as this can be a tedious process and can damage the print. You are welcome to use our tools and supplies for any additional post-processing that you would like to do.
6. Pick Up
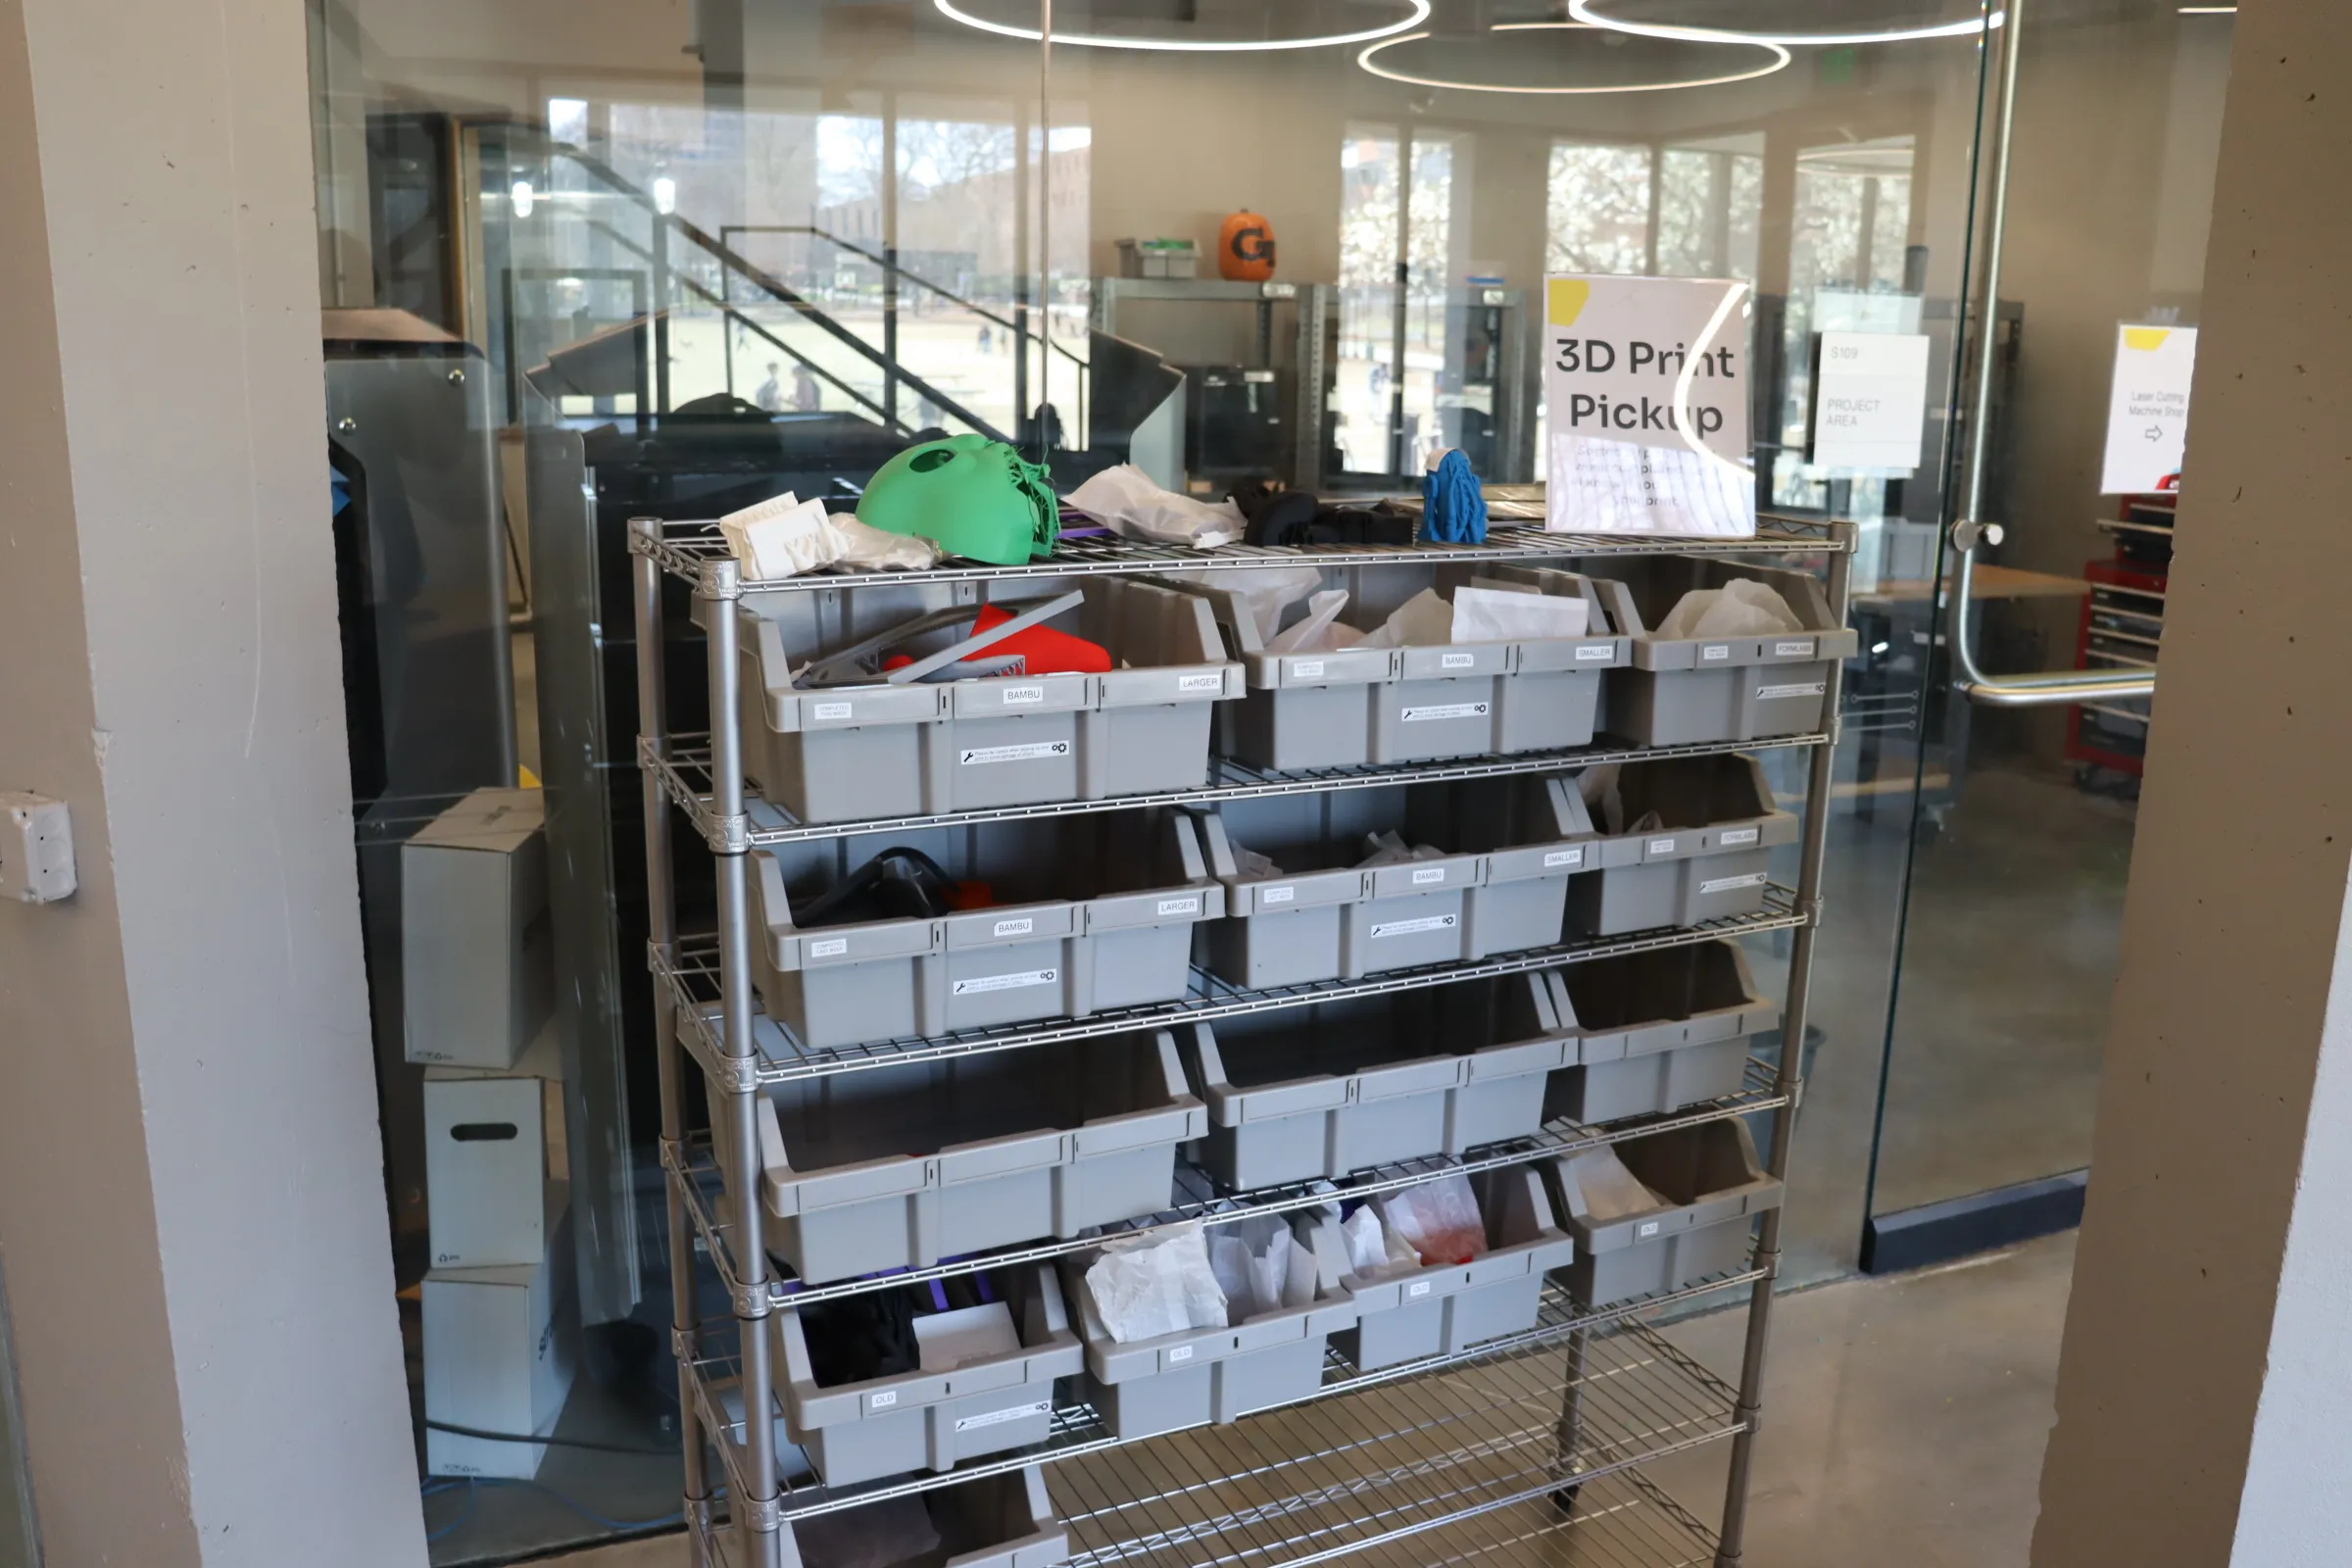
Once the print is complete and any post-processing is done, you can pick up your model from the space. The print pickup bins are located on the 1st floor of the Hive.